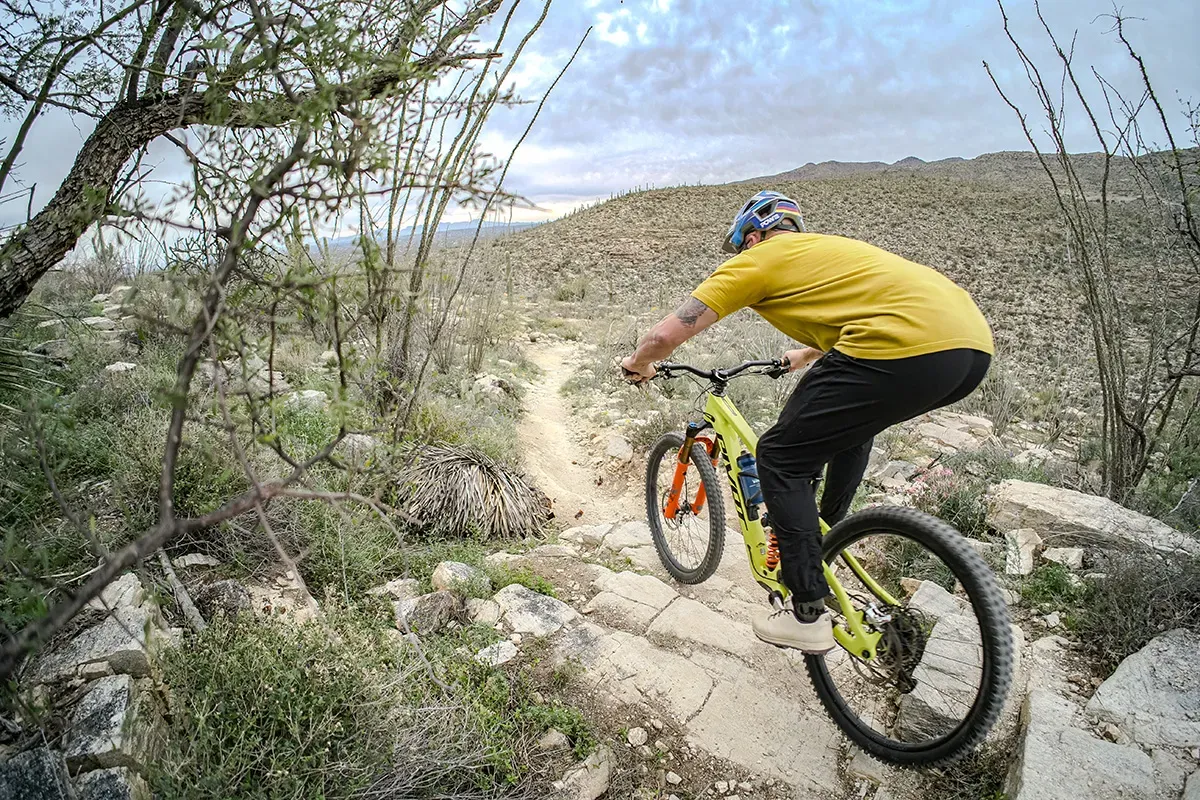
Southern Arizona is a great place to ride all year long and we have some of the best beginner trails in the state. "Singletrack" ranked the Sweetwater Trail as one of the best beginner trails in the state.
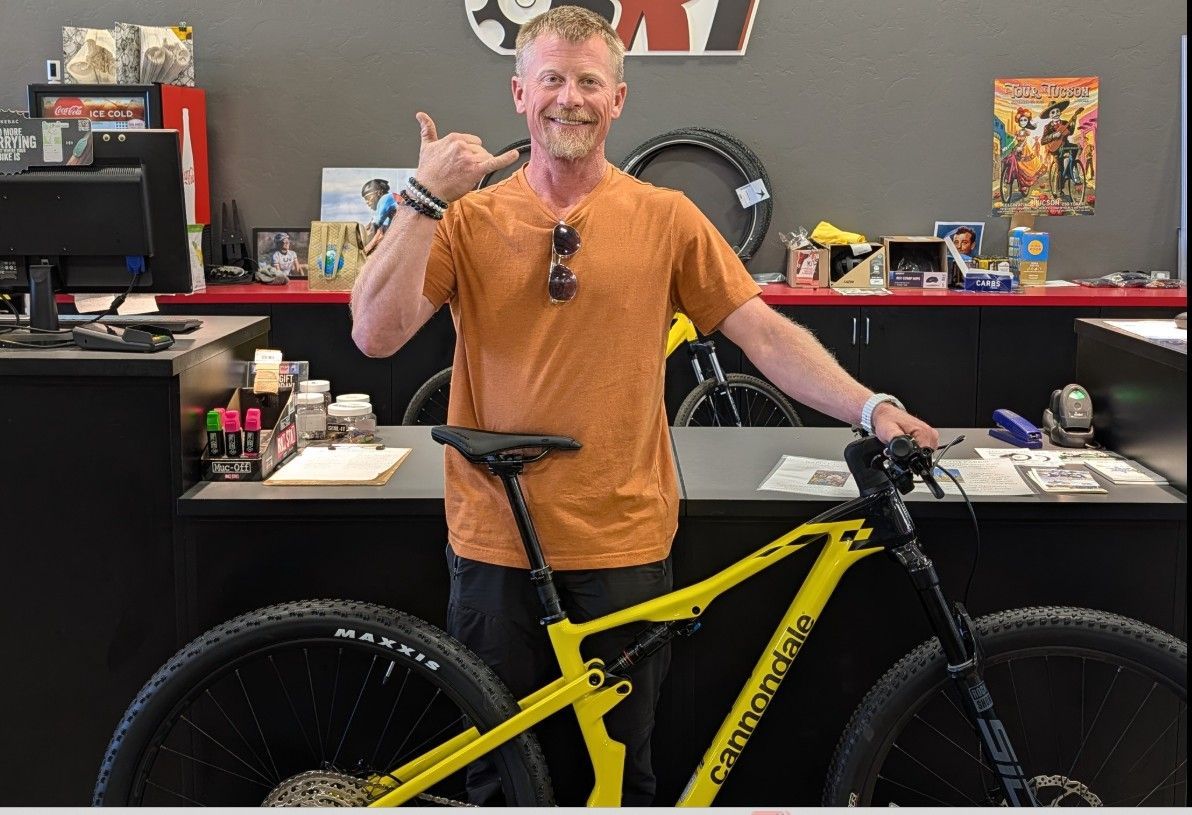
#1—The Bike. To get started, make sure you have a good quality bike that is sized for you. A competent bike shop can get you outfitted, and we have many good bike shops in Tucson, Oro Valley, Vail and Sahuarita. Whether your decide to go for a hard tail (front suspension only), full suspension; aluminum-frame, carbon-frame; fat tire, chubby, regular; or 27.5 or 29’er tires; tubeless tires or tubes; flats or clip-in pedals--all are personal choices. Confused? At first this can all be TMI (too much information) but learning about all this will help ensure that you have a bike you can grow into. Spend some time talking about all these features at a local bike shop that specializes in mountain bikes. Buy a bike that is better than your current level of riding so your can progress into the bike. For more information on buying the "right" bike in a video, click here. Don’t buy a cheapo bike (like a Huffy or Mongoose) to save money, and if you rent a bike, rent only from trusted, reputable bike rental shops. This is a “buyer beware” market because not all bike rental companies are the same. The best ones should provide a good quality bike with tubeless tires, basic bike repair tools, water, a map of the areas you will be riding, a helmet and a bike lock, at the minimum.
#2--The Trails . Next, check the SDMB website for the best beginner trails as a place to get started. We have put up 4 of the best beginner trails. Master your competence on those and then progress to some intermediate trails. Check them out here.
#3—Personal Gear. Personal equipment is another essential. Everyone who bikes should wear a helmet, riding gloves are very helpful and help reduce numbness that can develop, water is absolutely essential, as is sunscreen. Depending on how long you plan to be out riding should determine how much water to take. Always over-estimate how much water you will need so you don’t run out. Using an electrolyte solution in your water or by itself will help prevent cramps and replenish body salts and other electrolytes you will lose by perspiring. If your bike uses tubes, be sure to carry a pump and patch kit. Know how to fix a tube with a hole in it before you head out on the trail or ride with someone else who knows how to do this. For Arizona conditions, we highly recommend riding with tubeless tires--you will have fewer flats. Click here for a video about tubes vs. tubeless tires. If you ride tubeless tires, be sure to carry at least one CO2 cartridge and air value. Sometimes a small plastic bottle of sealant is also a good idea for longer rides where the trailhead may be miles away. You might also consider carrying some tire plugs as these are a better solution than putting in a tube if you do experience a flat. Walking back to your car while pushing a bike with a flat tire is never fun. For more information via video, click here.
#4—Tips for Safe Riding . Your bike is an advanced piece of technology and engineering that can overcome many obstacles, but you have to trust the bike to do what it was designed to do. Remember, though, that you are always in control and can stop, steer around obstacles, or slow down as you wish. Here are a few common riding tips we usually provide to beginner riders:
- You have a bunch of gears—use them. Don’t try to stay in one or two gears. Find the right gear ratio for the terrain and your ability. Click here for an instructional video.
- 9:00 and 3:00—keep your feet on the pedals at this orientation when coasting to avoid pedal strikes on rocks or dragging in the dirt on corners. Click here for an instructional video.
- Ride in the center of the trail—the edges of many trails have loose rocks, sand or shrubbery that can derail your travel.
- Avoid riding into V-cuts—some trails have water erosion channels that can suck in your front tire and cause you to crash. Avoid these deep grooves and ride up on the sides where there is more level ground.
- Learn how to hop your front tire over trail obstacles. Some rocks in the middle of the trail may seem intimidating, but using the engineering in your front shocks, press down on the handle bars right before the obstacles and hop your front tire over the obstacle. Practice on smaller objects and the progress to larger ones once you get the hang of it. Your bike is designed to roll over objects as large as a football with the right speed and control. Click here for an instructional video.
- Uphill and Downhill—When riding uphill, put your weight forward almost to the point that the point of your saddle is in your butt. On the downhill, shift your weight to the rear so that your butt is over your rear tire. Ride in the "attack" position on downhill slopes with elbows bent rather than shifting so far to the rear that your butt is behind the saddle--which unweights the front tire resulting in a loss of control. Click here for an instructional video. And here's another to watch.
- Braking 60/40—Your R ight brake is your R ear brake, and the left is your front brake. Many people think that you should rarely use your front brake, but this is not true. Clearly, clinching down on your front brake is dangerous and can cause you to flip (Over The Bars, or OTB). But a judicious use of both brakes can help slow your speed, particularly going downhill when most of your weight is on the front of the bike. Try to use your rear brake for about 60-70% of your breaking while the front brake is used about 30-40%. Play around with this and get a good feel for how much braking pressure is just right. Click here for an instructional video.
- Don’t be afraid to move around on your saddle. Move forward or backward as you ride the trail, stand up on fairly level sections to relieve pressure points. Many riders stand up to ride uphill sections, but it is your personal choice how to ascend as well as descend. Click here for an instructional video. Here's another to watch.
- Cornering—cornering is one of the most common areas for beginner crashes because your speed is too great, or the surface is sandy or loose gravel. Here in Southern Arizona, we have a lot of granitic soils and they can be quite slippery, especially on corners. Practice distributing your weight to stay over the bike rather than leaning one way or the other on corners. Pivot at the hips and lean your bike. Click here for an instructional video.
Most importantly, have fun and be safe. Mountain biking is a great sport that is growing, and so are the number of trails. You’re only a beginner once, so learn how to ride the easy trails first so you can move on up to things more challenging. And check SDMB's Facebook and Instagram pages for announcements about bike clinics led by certified MTB instructors.
Share Post
RECENT ARTICLES